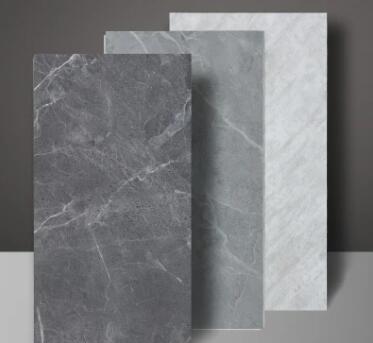
How is plastic flooring installed, and can it be a DIY project
2023-11-03
Plastic flooring, such as vinyl, luxury vinyl planks (LVP), and other resilient flooring options, can be installed as a do-it-yourself (DIY) project for those with moderate DIY skills. The ease of installation varies depending on the specific type of plastic flooring and the chosen installation method. Here are general steps for installing plastic flooring, along with considerations for DIY installation:
Tools and Materials Needed:
- Plastic flooring material
- Appropriate adhesive (if required)
- Utility knife or vinyl cutter
- Straightedge or T-square
- Tape measure
- Pencil or chalk
- Rolling pin or flooring roller
- Underlayment (if necessary)
- Floor preparation materials (cleaners, patches, etc.)
- Transition strips (for doorways)
DIY Plastic Flooring Installation Steps:
1. Preparation:
- Ensure the subfloor is clean, dry, level, and free of debris. Remove any existing flooring, such as old vinyl or carpet.
- Repair any subfloor imperfections, such as cracks or unevenness.
2. Underlayment (if needed):
- Some plastic flooring products require an underlayment for added cushioning or moisture resistance. Follow the manufacturer's recommendations.
3. Layout and Acclimatization:
- Unroll or arrange the plastic flooring in the installation area and allow it to acclimate for the recommended time, usually 24-48 hours.
4. Marking and Cutting:
- Measure the room's dimensions and mark guidelines on the floor using a straightedge or T-square.
- Cut the flooring material using a utility knife or vinyl cutter according to your guidelines. Make sure the cuts are precise to fit the room's dimensions.
5. Adhesive or Click-and-Lock Installation:
- Depending on the product and installation method, you may need to apply adhesive to the subfloor or the planks/tiles themselves. Follow the manufacturer's instructions for the specific adhesive or click-and-lock system.
6. Plank or Tile Installation:
- For vinyl planks or tiles, start in one corner of the room and lay the first row, ensuring it is aligned with the guidelines.
- Continue installing subsequent rows, staggering the seams to create a more stable and attractive pattern. Use a rolling pin or flooring roller to secure the planks or tiles in place.
7. Seams and Transitions:
- For seams between pieces, use the manufacturer's recommended seam sealer or adhesive if necessary.
- Install transition strips at doorways or areas where different flooring types meet.
8. Trimming and Finishing:
- Trim excess material around the edges of the room using a utility knife or vinyl cutter.
- Install baseboards or shoe molding to cover expansion gaps around the edges.
9. Clean-Up:
- Clean the installed floor to remove any adhesive residue or dirt.
Considerations:
- Ensure that the subfloor is in good condition, as imperfections can telegraph through the plastic flooring.
- Follow the manufacturer's specific installation instructions for the product you are using, as installation methods can vary.
- Take proper safety precautions, such as wearing safety glasses and ensuring good ventilation if using adhesives.
While plastic flooring installation can be a DIY project, it's important to assess your own skills and comfort level with the installation process. Some types of plastic flooring, such as luxury vinyl planks with click-and-lock systems, are generally more straightforward for DIYers, while others that require adhesive may be more challenging. If you have doubts or if the project involves complex layouts, consider consulting with a professional installer to ensure a successful installation.


